How to Create Your First Event on Attndly (Step-by-Step Guide)


So you’ve got an event idea.
Now what?
Instead of juggling spreadsheets, messages, and payment headaches… let’s do this the easy way.
Welcome to Attndly, where your event goes from idea to live in minutes.
Let’s walk you through it
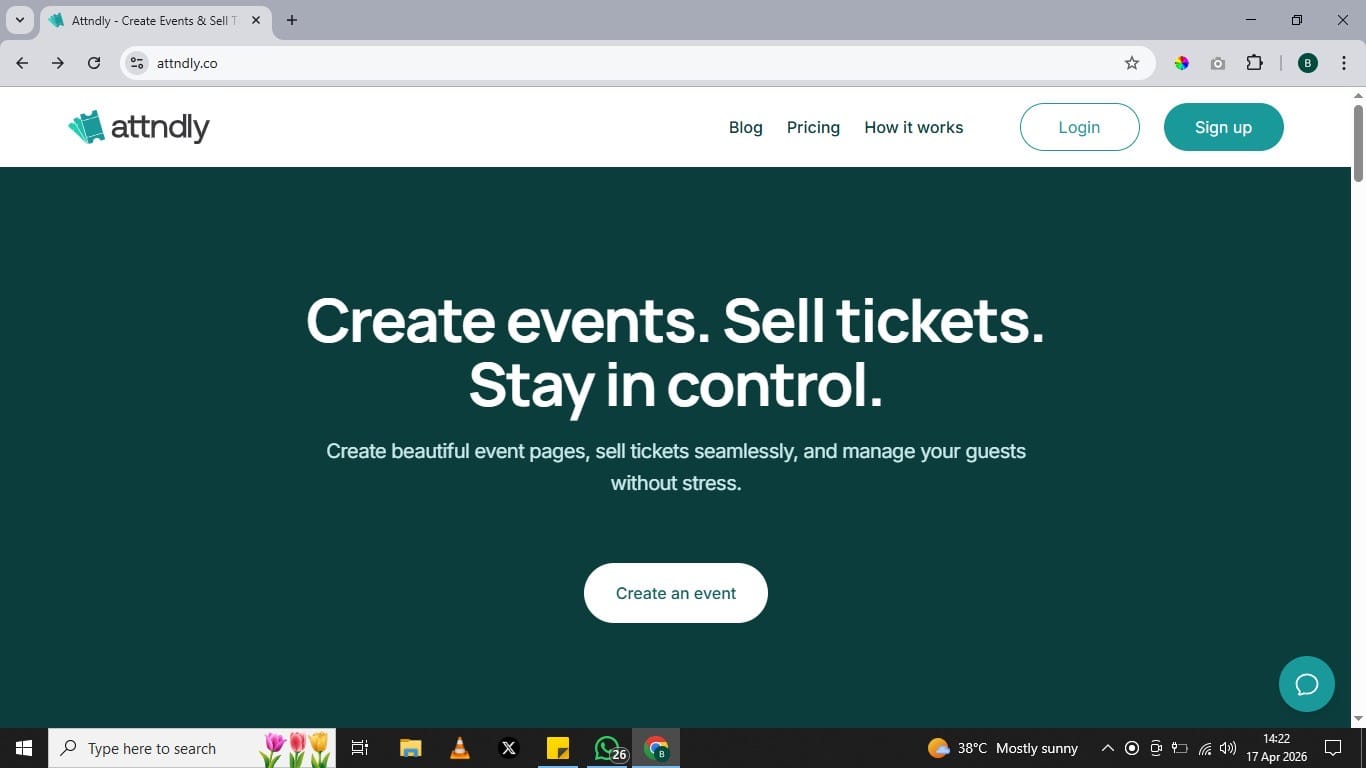
Right from the homepage, you’ll see exactly what Attndly is about: helping you create events, sell tickets, and stay in control without the stress.
Once you’re ready, click on “Create an event” to begin.
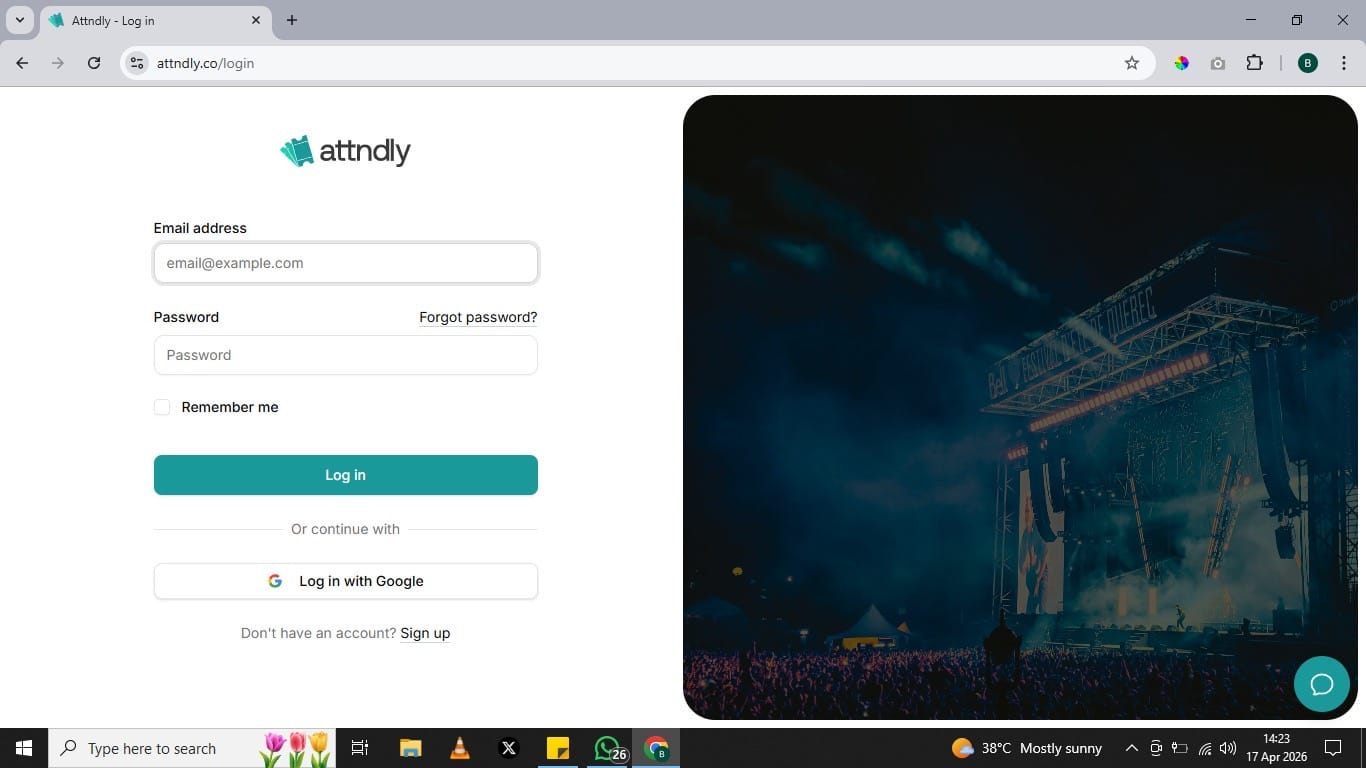
If you’re new, signing up takes just a few seconds. You can use your email or simply continue with Google for a faster experience.
Already have an account? Just log in and you’re good to go.
No complicated setup. No delays.
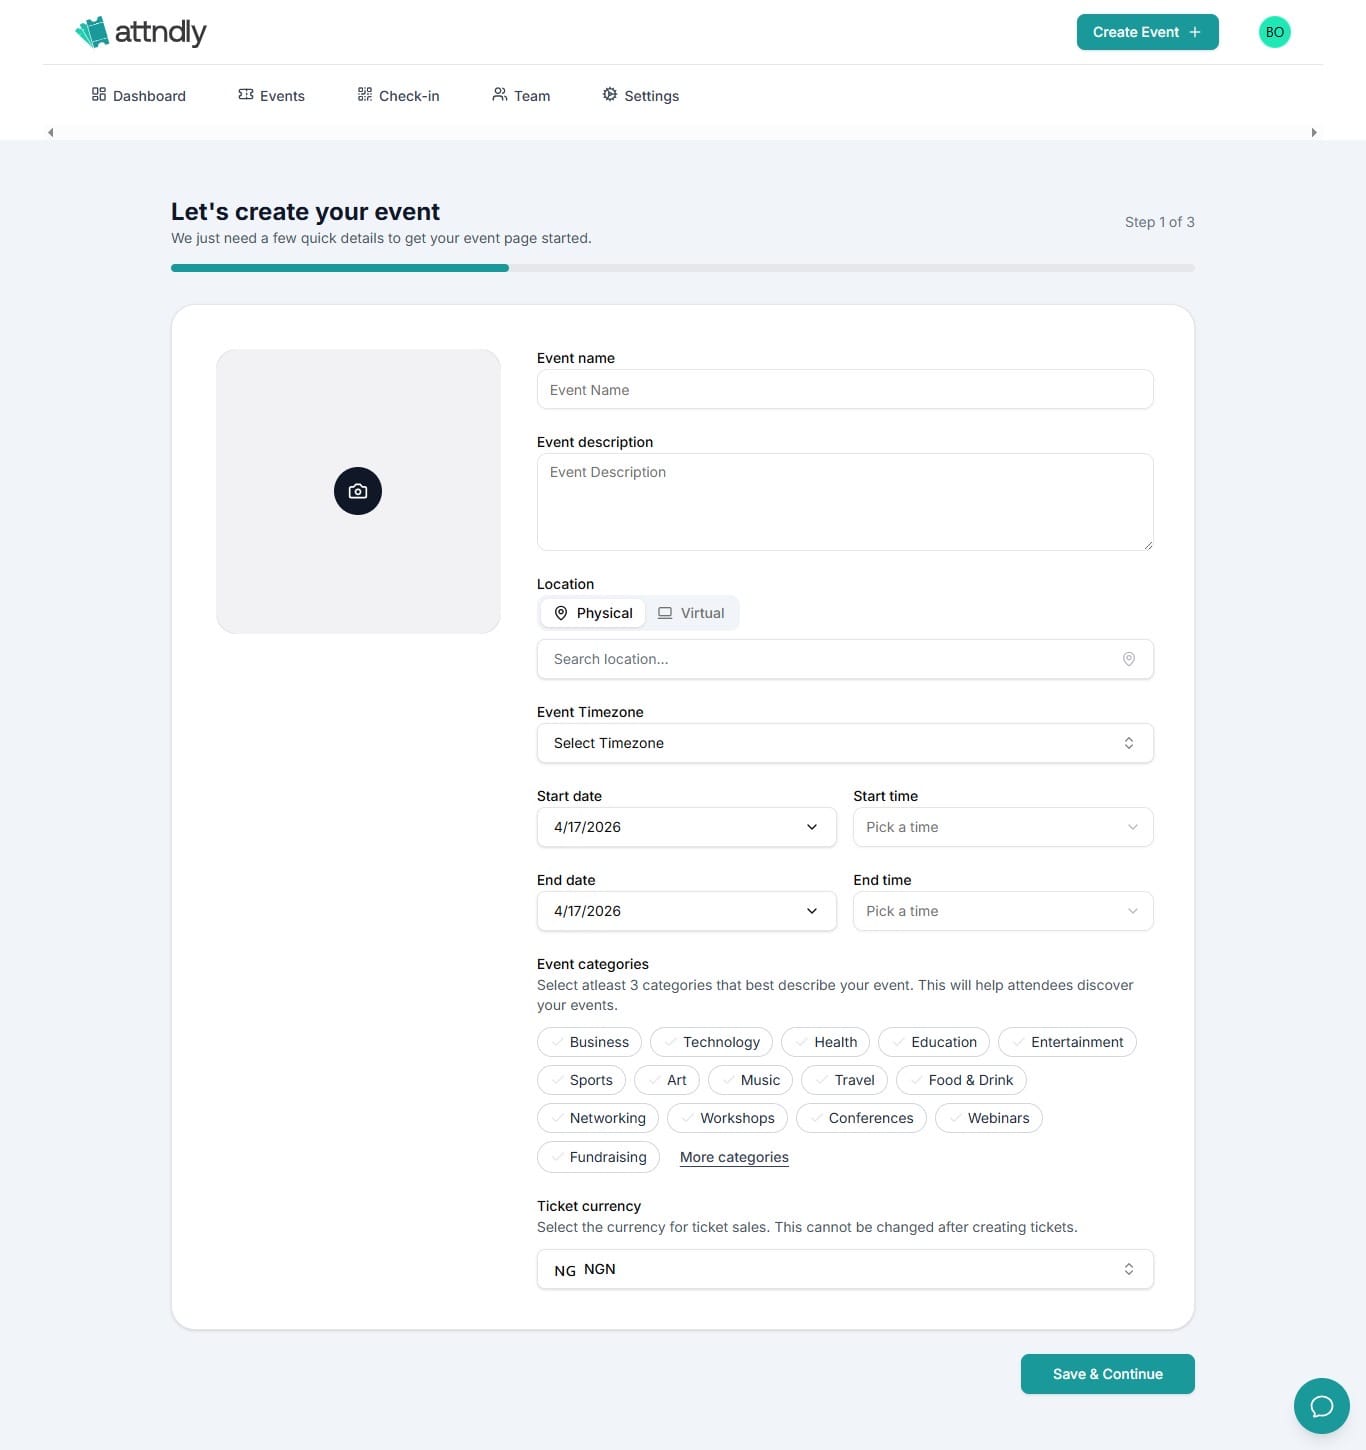
Now your event starts to come to life.
You’ll be asked to fill in key details like:
- Event name
- Date and time
- Location (physical or virtual)
- A short description
This is where you tell people what your event is about, so keep it clear, engaging, and informative.
Think of it as your event’s first impression.
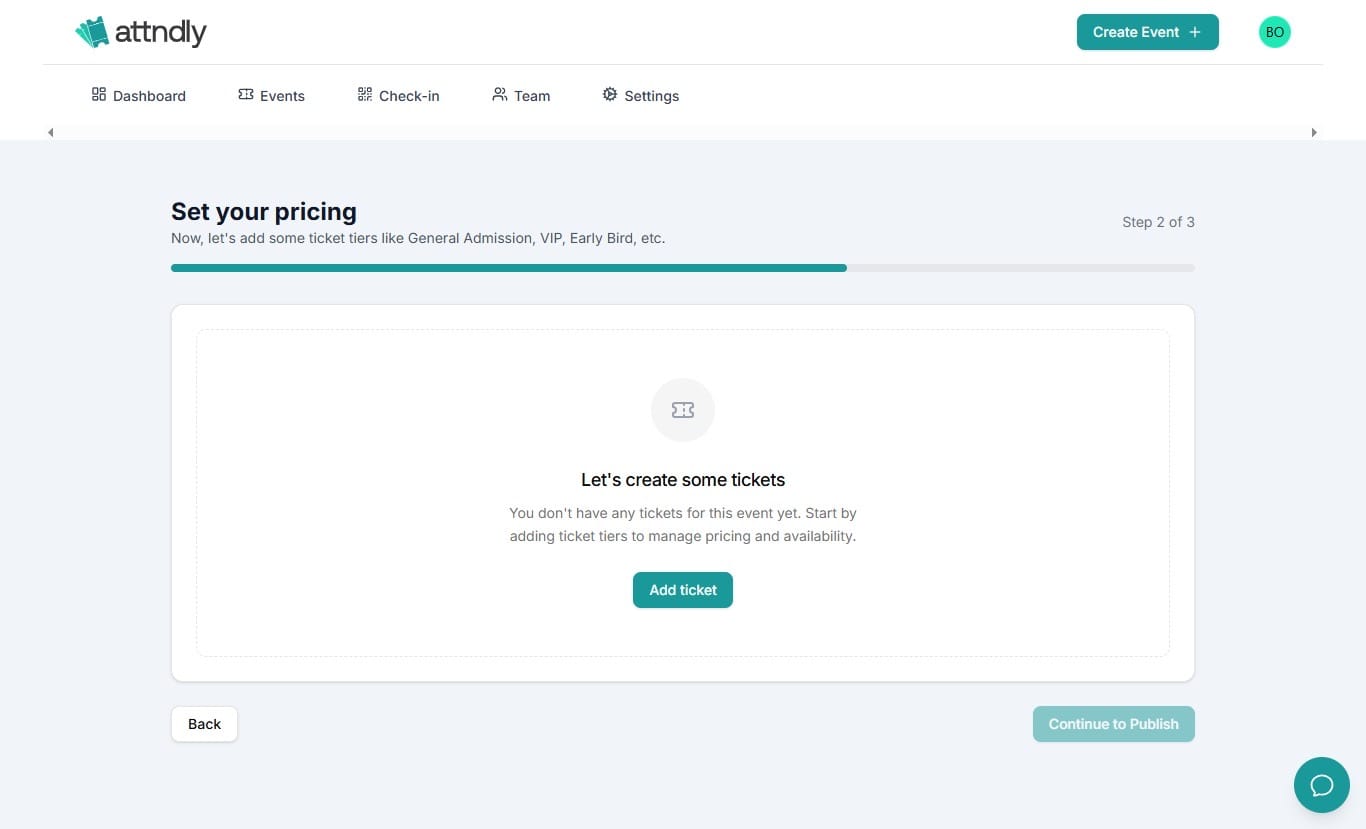
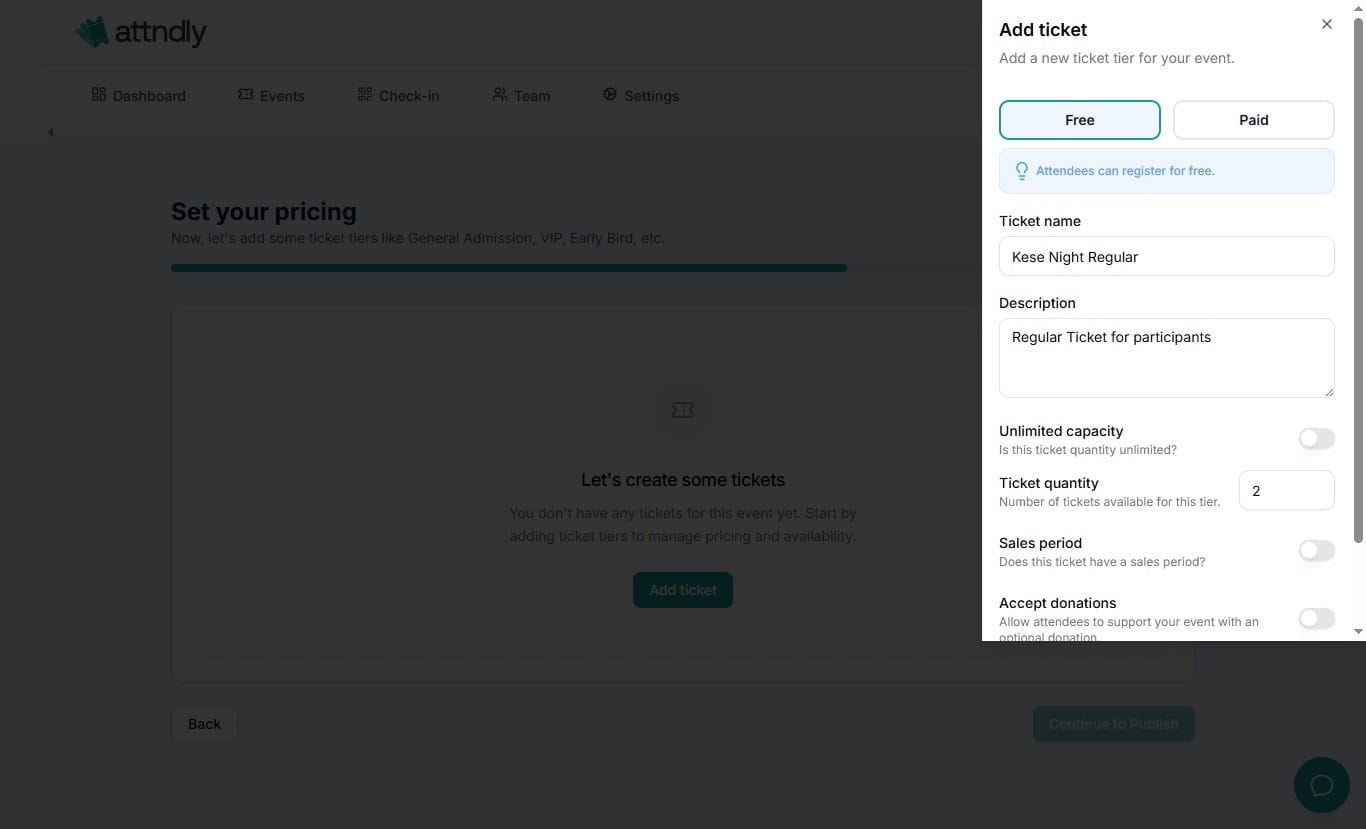
Next, decide how people will attend your event, either it’s a paid event or a virtual event.
Attndly gives you full control here. You can also create:
- Paid tickets
- Free tickets - Fun fact: You can also make money event with free tickets. Here's how
- Different ticket categories
You can also set limits, control availability, and manage pricing easily.
No spreadsheets. No confusion.
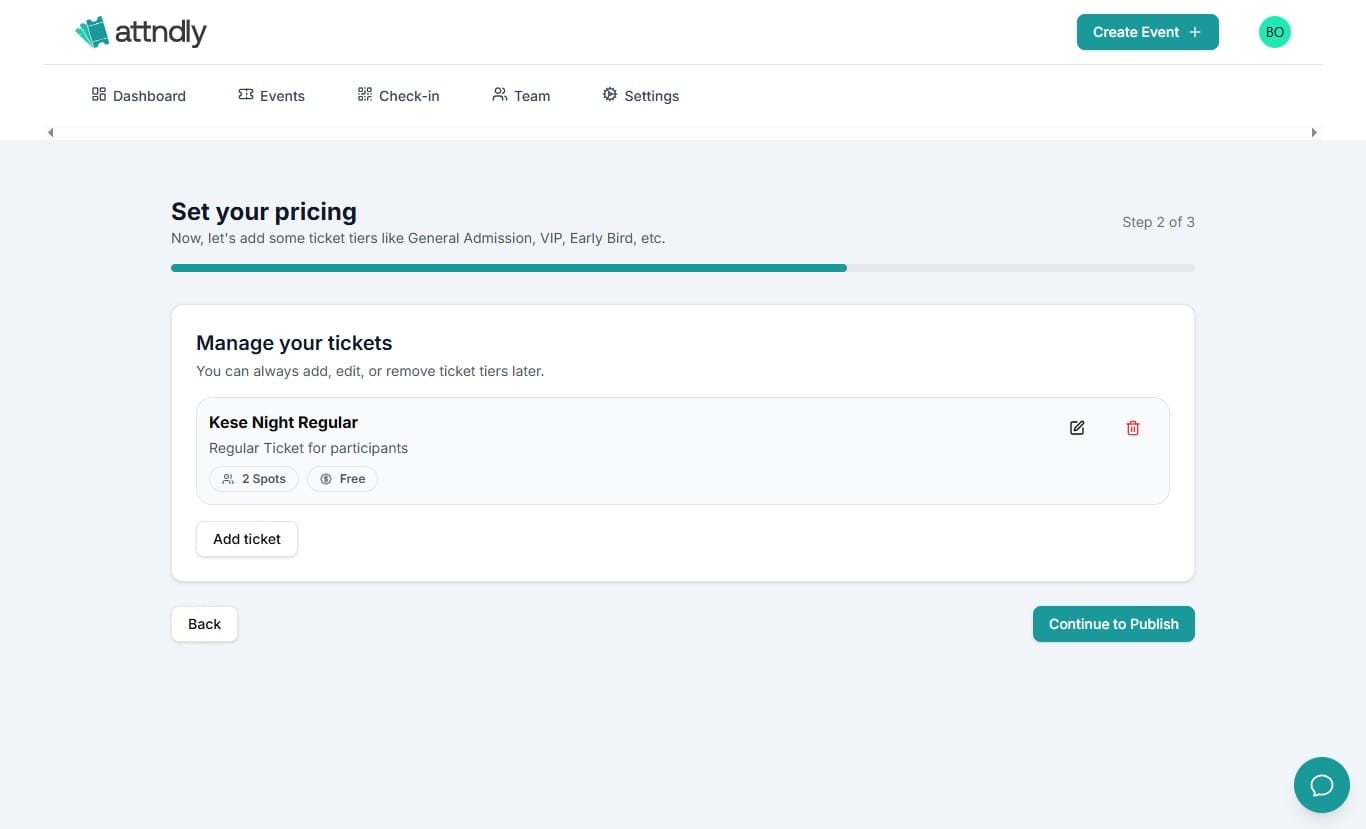
Once everything looks good, go ahead and publish.
Just like that, your event is live.
This is the moment your idea officially becomes something people can attend.
Go ahead and prosper ☺️

